Guides
Seeds of Calamity Fish Guide: Locations, Rare Fish, Flying Sunfish
Quick Answer
Use this as the Seeds of Calamity fish route planner: pick one target route, check the season or dungeon clue, record failed attempts, skip special-tackle hunting for the public legendary routes, then store the first unusual catch before selling extras.
Collection Workspace
Rare Fish Route Planner
Pick one fish route, record each attempt, and keep first unusual catches out of the sell bin.
Start Here
What Are You Trying To Finish Today?
Pick the session goal first. The tool gives you the guide, next steps, what to bring, and what not to sell.
Fish Route Board
Stop Random Casting
Public data is route-based, not a complete fish encyclopedia. Filter by season/route, choose one target, then record attempts.
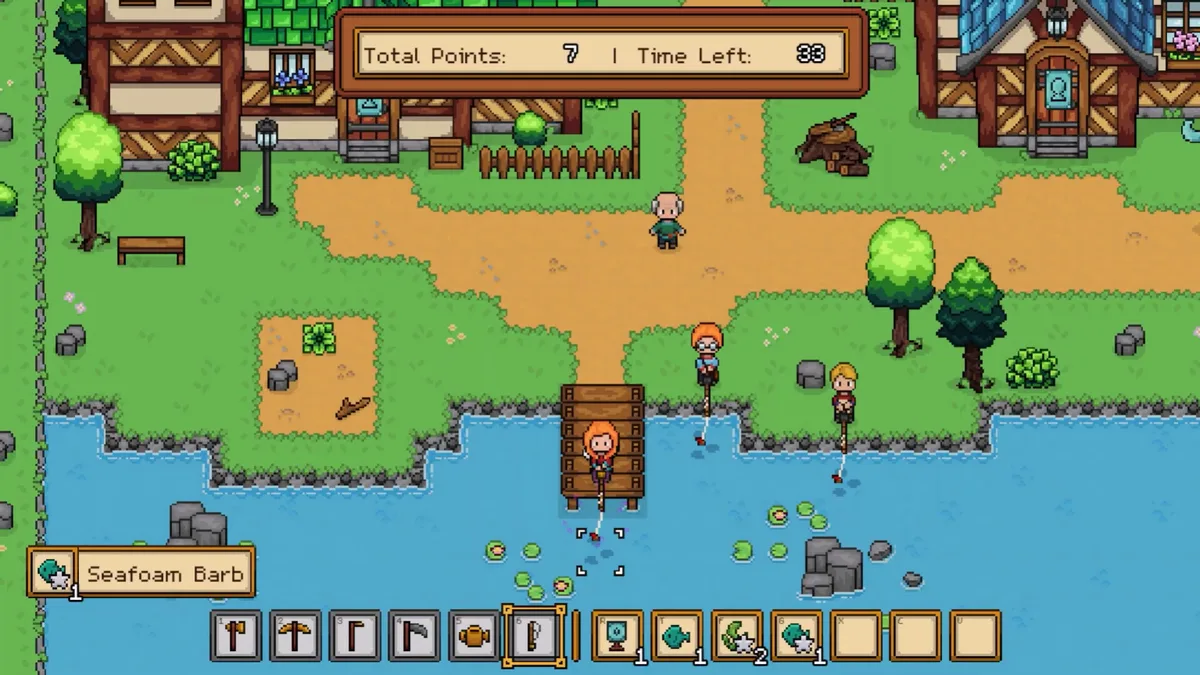
Town fishing spots
All weather reported; clue: One shadow. Steam discussion reports corrected the route from cliffside confusion to town water in Spring.Cliffside pond north of the farm
Unknown; clue: One shadow reported. Mentioned in the Flying Sunfish discussion as the fish caught when testing the cliffside pond lead.Left and upper map fishing spots
Any weather; clue: Sparkling fishing spot. OneMore's Steam guide says the four seasonal legendary fish use sparkling spots in their matching season and do not require special tackle.Left and upper map fishing spots
Any weather; clue: Sparkling fishing spot. OneMore's Steam guide says the four seasonal legendary fish use sparkling spots in their matching season and do not require special tackle.Left and upper map fishing spots
Any weather; clue: Sparkling fishing spot. OneMore's Steam guide says the four seasonal legendary fish use sparkling spots in their matching season and do not require special tackle.Left and upper map fishing spots
Any weather; clue: Sparkling fishing spot. OneMore's Steam guide says the four seasonal legendary fish use sparkling spots in their matching season and do not require special tackle.Outside-village special areas: left island, upper-left map, and nearby cave checks
Any weather; clue: Sparkling fishing spot. OneMore's Steam guide says the fifth legendary fish appears only in special areas outside the village, uses random daily spots, and does not require special tackle.Abandoned Mines
Not applicable; clue: Single big-fish spot. OneMore's Steam guide says the dungeon rare fish only use the one-big-fish spot; two- or three-fish spots can be ignored, and no special tackle is required.Slime Caverns
Not applicable; clue: Single big-fish spot. OneMore's Steam guide says the dungeon rare fish only use the one-big-fish spot; two- or three-fish spots can be ignored, and no special tackle is required.Molten Boneyard
Not applicable; clue: Single big-fish spot. OneMore's Steam guide says the dungeon rare fish only use the one-big-fish spot; two- or three-fish spots can be ignored, and no special tackle is required.No fish routes match this filter.
Start here for Flying Sunfish and other town-slot tests.
Record season, weather, shadow, and first-copy state before changing route.Use as the comparison route when a rare fish lead does not match town water.
Keep unknown first catches until the museum lane is checked.Useful because early Flying Sunfish reports confused this spot with town water.
Record exact fish name before assuming a one-shadow catch is Flying Sunfish.Use for single-shadow or unusual water clues that need current-save confirmation.
Do not sell the first unusual catch.Use this for the four seasonal legendary targets. Check left and upper map fishing spots during the matching season.
Weather is reported as irrelevant; save the first sparkling-spot catch before selling.Use this for the special legendary target. Check the left island, the upper-left map, and the nearby cave route.
The daily location is reported as random, so log which special area you checked.Use this for Abandoned Mines, Slime Caverns, and Molten Boneyard rare fish targets.
Only the single big-fish spot matters for these targets; ignore two- or three-fish spots for rare-fish hunting.Community comments on the legendary fish guide say these legendary and dungeon rare fish do not need special fishing gear.
If a route fails, change spot or season before spending time looking for a special bait unlock.Record failed attempts too. A rare fish route is only useful when you know which season, spot, and clue already failed.
| Target | Spot | Weather | Clue | Result | Note |
|---|---|---|---|---|---|
| No attempts saved yet. | |||||
Fishing in Seeds of Calamity matters for much more than side income. It feeds museum completion, supports achievements, and creates some of the game’s most annoying late cleanups if you ignore it for too long. Use the route planner above to choose one rare-fish target, save each attempt, and keep the first unusual catch before you sell extras. Jump back to the full Seeds of Calamity Guide Hub for the rest of the collection and progression pages.
Last checked: June 2, 2026. Rare-fish notes can shift after updates, but the current public legendary-fish guide says these targets do not need special tackle. Use the tracker above before selling unusual catches.
Quick Answer
Fish early, record the spot family, weather, shadow clue, and season, then donate or store notable catches before selling. If you are looking for Flying Sunfish or another rare fish, start with the current community-confirmed lead, save that test in the fish record, and change only one variable before moving to a new area.
| Goal | Best action | Companion guide |
|---|---|---|
| Early money | Use convenient nearby water between chores | Beginner Guide |
| Museum progress | Donate or store the first rare catch | Museum Guide |
| Angler cleanup | Track season, weather, spot family, and shadow clue | Achievements Guide |
| Flying Sunfish | Test town water in Spring with one-shadow catches | This page |
| Collection routing | Pair fishing with bug and museum checklists | Bug Guide |
Use the fish tracker above before selling a new catch. For collection cleanup, keep the museum guide and bug riddles guide open with this page.
Rare Fish Route Board
Use this table when a fish refuses to show up. It turns a vague search into a repeatable test:
| Target | Start here | Track before moving |
|---|---|---|
| Flying Sunfish | Town water in Spring | Shadow clue, weather, museum status, and first-copy storage |
| Any “legendary” fish search | One target fish at a time | Spot family, season, weather, and whether the first copy is donated |
| Museum fish gap | Museum lane first | Exact missing slot, then matching water family |
| Cliffside confusion | Compare with town route | Whether the catch pool actually changed |
| Late 100% cleanup | Achievements plus museum | Which season you need before sleeping through days |
Do not test every pond in one day. Pick the most likely route, run enough casts to learn the pool, then change only one variable: spot, season, weather, or shadow clue.
Flying Sunfish Checklist
| Check | Current best route |
|---|---|
| Water family | Town fishing spots |
| Season | Spring |
| Shadow clue | One-shadow catch |
| Weather | All weather appears possible, but still note it |
| First copy | Donate or store before selling extras |
| If it does not appear | Recheck spot family before blaming weather |
If you have been fishing cliffside water first, move back to town water before assuming your save is bugged.
If You Are Stuck, Check These 3 Things
| Check | Why it fixes most fish problems |
|---|---|
| Spot family | A town-water lead does not transfer cleanly to cliffside or farm-adjacent water |
| Season and weather | Rare fish often look impossible when the timing is wrong |
| First-copy storage | Selling the first unusual catch creates museum and quest cleanup later |
Do these three checks before moving to a new fishing spot. Random casting in every pond usually hides the real mistake.
What To Check First
| If you came here for… | Check this first | Then do this |
|---|---|---|
| Seeds of Calamity fish locations | Spot family and season | Record each new catch before selling extras |
| Legendary fish | Rare-catch behavior, not only the name | Treat hard-to-repeat fish as a target route with season and shadow notes |
| Flying Sunfish | Town water, Spring, one-shadow catch | Test all weather before assuming the lead is wrong |
| Museum fish gaps | Donation status | Store one copy until the museum lane is clear |
| 100% completion | Angler and Curator overlap | Keep the achievements guide open with this page |
Overview
This fishing guide is built to help you avoid the two most common mistakes: fishing too randomly and starting the museum cleanup too late. If you keep track of spot type, season, and rare-fish clues from the start, the whole system becomes easier.
If you are treating this as a Seeds of Calamity fish guide, the useful answer is not a giant unverified table. The useful answer is a repeatable route: test one water type at a time, note the season, keep the first unusual catch, and connect fishing to museum and achievement progress before the late-game cleanup starts.
How Fishing Works
The most important fishing habit is not “fish more.” It is “fish with intent.” Learn which spot type you are testing, pay attention to shadow size or rarity clues, and keep a note of season or weather when a fish seems unusually hard to repeat. That turns fishing from a vague time sink into a trackable system.
Key Takeaways
- Use fishing early for both money and museum progress.
- Track location type, season, and shadow behavior.
- Keep one clear plan for rare fish instead of bouncing between ponds.
- Pair this page with the museum guide if you care about donation efficiency.
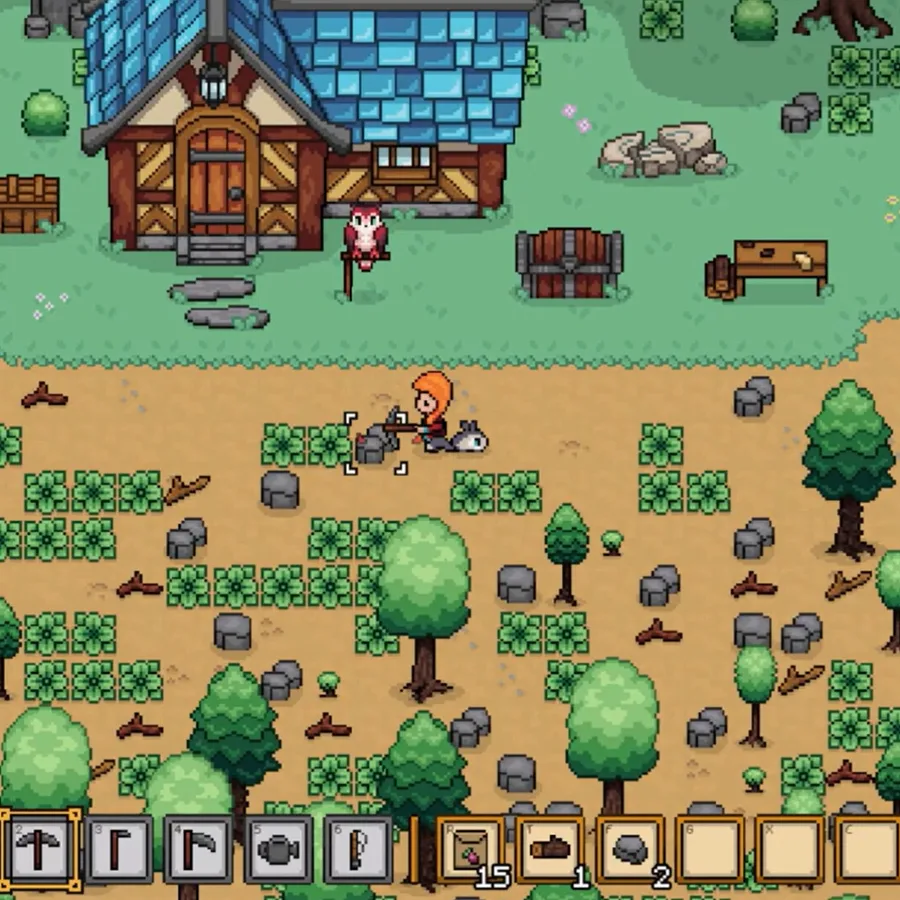
Best Early Fishing Spots
Early in the game, convenience matters as much as pure catch value. A good fishing spot is one you can test often while still finishing farm tasks, quests, and errands. That is why nearby village or farm-adjacent water usually matters more than a long walk to a spot you only visit once every two weeks.
| Spot type | Why it matters | Best use |
|---|---|---|
| Farm-adjacent water | Easy to test between chores | Early money and habit-building |
| Town fishing spots | Efficient for repeat visits and rare-fish testing | Seasonal catch tracking |
| Cliffside or elevated pond areas | Often searched for specific rare fish | Targeted rare-fish runs |
| Special or rare marked spots | Best for collection cleanup | Museum and achievement progress |
Rare and Legendary Fish
Seeds of Calamity does not use a formal “legendary” label in the same way some games do, but players searching for legendary fish are looking for the same thing: unusually rare catches that require the right spot, season, shadow clue, and sometimes weather. Flying Sunfish is the most-discussed example, but any fish that does not appear on casual casts should be treated with the same structured approach.
Rare and legendary fish cause frustration because they expose every weakness in a lazy fishing routine. If you do not track season, spot family, or shadow pattern, you can burn multiple in-game days repeating the wrong test.
Practical rare and legendary fish routine:
- Decide on one target fish instead of hoping for random progress.
- Confirm the correct spot family first.
- Test the season and weather you are currently in before assuming the fish is unavailable.
- Keep the first rare catch for museum or storage, not fast gold.
- Write down the shadow or bite clue so you can repeat the test later.
Flying Sunfish Notes
Flying Sunfish is one of the clearest examples of why community-confirmed details matter. A public Steam discussion points to the fish being found in town fishing spots during Spring on a one-shadow catch, with later clarification saying all weather appears valid rather than only rainy days.
That does not mean every town cast in Spring will hand it over immediately. It means your test should be structured around town water, Spring timing, and the correct shadow clue before you start doubting your whole save.
| Fish | Current best lead | Status |
|---|---|---|
| Flying Sunfish | Town fishing spots, Spring, one-shadow catch, all weather | Community-confirmed |
| Cliffside pond confusion | Some players first checked cliffside water and caught a different fish | Community-confirmed |
| Exact full fish table by season | Broader community list still developing | To be verified |
Fishing and Museum Completion
If you wait until the museum is almost finished before taking fishing seriously, you create a season problem. The better route is to donate or store notable catches right away and keep a running list of what your museum still needs. That turns fishing from a late panic grind into a steady side system.
The achievements guide and museum guide matter here because Angler Enthusiast and Curator overlap heavily. A fish that looks like easy money today can become the catch you are missing three seasons later.
Fish Checklist
Use a working checklist like this instead of trusting memory:
| --- | --- | | Spot family | Town, farm-adjacent, cliffside, or special location | | Season | Spring, Summer, Autumn, or Winter | | Weather | Normal, rainy, windy, or other useful condition | | Shadow clue | One-shadow, large shadow, rare spot, or other visible cue | | Destination | Sell, store, or donate |
Quick Checklist
- Fish a little every season instead of all at once.
- Donate rare catches early.
- Keep notes when a fish appears tied to one specific visual clue.
- Revisit town water during Spring if Flying Sunfish is still missing.
Fish Record Template
Do not wait for a perfect public list before keeping your own notes. A short record is enough to stop repeated mistakes, and it gives you a way to compare your save against community leads without treating every comment as final.
| Field | Example note | Why it matters |
|---|---|---|
| Catch name | Write the exact fish name | Prevents mixing similar rare catches |
| Water type | Town, farm-adjacent, cliffside, or special spot | Keeps future tests focused |
| Season and weather | Spring / normal, rainy, or other condition | Separates timing from bad luck |
| Shadow or clue | One-shadow, large, fast, or unusual | Helps repeat a rare catch |
| First destination | Museum, storage, sale, or quest test | Stops accidental selling |
Keep the template small. If tracking feels like a chore, you will stop doing it, and fishing will turn back into guessing.
Confirmed vs Needs Verification
| Fishing detail | Status | What to do |
|---|---|---|
| Fishing supports museum and achievement progress | Confirmed by guide/achievement overlap | Start early and keep notable catches |
| Flying Sunfish town/Spring/one-shadow lead | Community-confirmed | Test this route before trying random water |
| All weather for Flying Sunfish | Community-confirmed, still worth rechecking | Do not wait only for rain unless your own testing contradicts it |
| Full fish list by season and location | Needs a current complete table | Record your catches until a stronger source is available |
| Every museum fish requirement | Needs in-game checklist confirmation | Donate early and compare with museum progress |
FAQ
What is the best fishing guide strategy for new players?
Use fishing as a low-friction side routine that supports money and museum progress, rather than treating it as a separate endgame project.
Where is Flying Sunfish in Seeds of Calamity?
Current community-confirmed guidance points to town fishing spots in Spring on a one-shadow catch, with all weather seeming valid.
Do I need perfect fish data to make progress?
No. You only need a smart process: track spot family, season, and clue patterns, then keep museum-worthy catches out of the sell pile.
What should I read after this page?
If your main goal is collection, go to museum. If your goal is 100%, go to achievements.
Related Guides
For the full link map, use the Seeds of Calamity Guide Hub. These are the best companion pages for fishing progress:
| Guide | Why it helps |
|---|---|
| /guides/seeds-of-calamity-museum-guide/ | Best guide for turning catches into donation progress |
| /guides/seeds-of-calamity-achievements/ | Useful for Angler Enthusiast and 100% routing |
| /guides/seeds-of-calamity-beginner-guide/ | Helps if you still need a stable early economy |
| /guides/seeds-of-calamity-bug-guide/ | Pairs with fishing for museum collection cleanup |
| /guides/seeds-of-calamity-dungeon-guide/ | Useful because dungeon progress and collection progress often overlap in completion runs |
FAQ
Where do I start fishing in Seeds of Calamity?
Start with the most convenient early spots and use fishing as both money support and museum progress instead of waiting until late game.
Are there legendary fish in Seeds of Calamity?
The game uses rare and hard-to-find fish as the equivalent of legendary catches. Flying Sunfish is the clearest example: community reports point to town fishing spots in Spring on a one-shadow catch. Track spot type, season, and shadow clue for any fish that does not appear on regular casts.
Is Flying Sunfish confirmed anywhere?
Community reports point to the town fishing spots in Spring on a one-shadow catch, with all weather appearing valid.
Should I donate the first rare fish I catch?
Usually yes for museum progress, unless you are actively testing a quest or recipe need. Rare fish are easier to manage when you donate or store them immediately.
Which guides work best with this page?
The museum and achievements guides are the two most useful companions, with the beginner guide helping if your early economy still needs support.