Guides
SAND Raiders of Sophie Trampler Guide: Build Readiness
Quick Answer
A SAND Raiders of Sophie Trampler build is ready when it can move with power margin, carry the main cargo, seat the crew, feed mounted weapons, and finish a short extraction test. Change one pressure point, test it, then trust it with better loot.
Trampler Readiness
Find The Weak Point In The Walking Base
Use this before a rebuild or long route to decide whether cargo, power, crew control, armor, or turret ammo is the next bottleneck.The page helps decide whether today's problem is cargo, power, crew control, armor, decks, or turrets.
Filter by pressure point, save likely changes, then test one system on a short Voyage.
A stronger-looking Trampler is not ready until it moves, carries, defends, and extracts under pressure.
Released Jun 22, 2026; exact routes can shift during Early Access.
Learn cargo, food, weapons, and extraction before pushing Storm Dive.
Expect busy routes, contested exits, and quick balance changes during the launch window.
Readiness Check
Is This Trampler Ready For A Real Run?
Build Readiness
Choose the pressure point before rebuilding
Use this in camp: filter the build problem, save the modules involved, then test one change on a short Voyage.
Search every Trampler row in the readiness board.
Make sure the solo or squad route has enough control space before launch.
- Solves
- Crew control
- Watch for
- Fit check
- Test with
- 1x2
- Safe move
- Change one part at a time and check exit movement after the change.
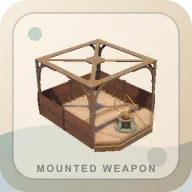
Mount only after shells and firing lanes match the route.
- Solves
- Sustained fire
- Watch for
- Mounted ammo pressure.
- Test with
- 1x1
- Safe move
- Count shells before launch and avoid fights that do not protect the objective.
Mount only after shells and firing lanes match the route.
- Solves
- Sustained fire
- Watch for
- Mounted ammo pressure.
- Test with
- 1x1
- Safe move
- Count shells before launch and avoid fights that do not protect the objective.
Add weapons only after cargo and power are not already failing.
- Solves
- Weapon mount
- Watch for
- Fit check
- Test with
- 2x2
- Safe move
- Change one part at a time and check exit movement after the change.
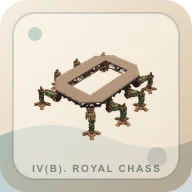
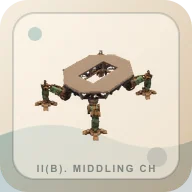
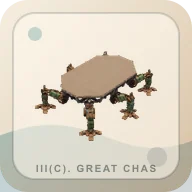
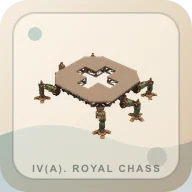
Pick the chassis around crew size, cargo goal, and how often you need to turn around under pressure.
- Solves
- Build footprint
- Watch for
- Footprint pressure
- Test with
- 4x3
- Safe move
- Run a short extraction test before switching the main build.
Pick the chassis around crew size, cargo goal, and how often you need to turn around under pressure.
- Solves
- Build footprint
- Watch for
- Footprint pressure
- Test with
- 5x3
- Safe move
- Run a short extraction test before switching the main build.
Pick the chassis around crew size, cargo goal, and how often you need to turn around under pressure.
- Solves
- Build footprint
- Watch for
- Footprint pressure
- Test with
- 4x6
- Safe move
- Run a short extraction test before switching the main build.
Pick the chassis around crew size, cargo goal, and how often you need to turn around under pressure.
- Solves
- Build footprint
- Watch for
- Footprint pressure
- Test with
- 3x4
- Safe move
- Run a short extraction test before switching the main build.
Pick the chassis around crew size, cargo goal, and how often you need to turn around under pressure.
- Solves
- Build footprint
- Watch for
- Footprint pressure
- Test with
- 3x5
- Safe move
- Run a short extraction test before switching the main build.
Pick the chassis around crew size, cargo goal, and how often you need to turn around under pressure.
- Solves
- Build footprint
- Watch for
- Footprint pressure
- Test with
- 5x5
- Safe move
- Run a short extraction test before switching the main build.
Pick the chassis around crew size, cargo goal, and how often you need to turn around under pressure.
- Solves
- Build footprint
- Watch for
- Footprint pressure
- Test with
- 4x4
- Safe move
- Run a short extraction test before switching the main build.
Pick the chassis around crew size, cargo goal, and how often you need to turn around under pressure.
- Solves
- Build footprint
- Watch for
- Footprint pressure
- Test with
- 3x3
- Safe move
- Run a short extraction test before switching the main build.
Check power before adding heavy loot or extra weapon decks.
- Solves
- Movement and power
- Watch for
- Power pressure
- Test with
- 1x3
- Safe move
- Leave with power margin, not only full cargo.
Check power before adding heavy loot or extra weapon decks.
- Solves
- Movement and power
- Watch for
- Power pressure
- Test with
- 2x2
- Safe move
- Leave with power margin, not only full cargo.
Check power before adding heavy loot or extra weapon decks.
- Solves
- Movement and power
- Watch for
- Power pressure
- Test with
- 2x2
- Safe move
- Leave with power margin, not only full cargo.

Check power before adding heavy loot or extra weapon decks.
- Solves
- Movement and power
- Watch for
- Power pressure
- Test with
- 2x2
- Safe move
- Leave with power margin, not only full cargo.
Check power before adding heavy loot or extra weapon decks.
- Solves
- Movement and power
- Watch for
- Power pressure
- Test with
- 1x3
- Safe move
- Leave with power margin, not only full cargo.
Check power before adding heavy loot or extra weapon decks.
- Solves
- Movement and power
- Watch for
- Power pressure
- Test with
- 1x3
- Safe move
- Leave with power margin, not only full cargo.
Check power before adding heavy loot or extra weapon decks.
- Solves
- Movement and power
- Watch for
- Power pressure
- Test with
- 1x3
- Safe move
- Leave with power margin, not only full cargo.
Check power before adding heavy loot or extra weapon decks.
- Solves
- Movement and power
- Watch for
- Power pressure
- Test with
- 1x1
- Safe move
- Leave with power margin, not only full cargo.
Check power before adding heavy loot or extra weapon decks.
- Solves
- Movement and power
- Watch for
- Power pressure
- Test with
- 1x2
- Safe move
- Leave with power margin, not only full cargo.
Pick the chassis around crew size, cargo goal, and how often you need to turn around under pressure.
- Solves
- Build footprint
- Watch for
- Footprint pressure
- Test with
- 5x5
- Safe move
- Run a short extraction test before switching the main build.
Pick the chassis around crew size, cargo goal, and how often you need to turn around under pressure.
- Solves
- Build footprint
- Watch for
- Footprint pressure
- Test with
- 4x6
- Safe move
- Run a short extraction test before switching the main build.
Test the module on a short route before trusting it with rare cargo.
- Solves
- Damage control
- Watch for
- Weight and repair pressure
- Test with
- 1x1
- Safe move
- Change one part at a time and check exit movement after the change.
Test the module on a short route before trusting it with rare cargo.
- Solves
- Damage control
- Watch for
- Weight and repair pressure
- Test with
- 3x1
- Safe move
- Change one part at a time and check exit movement after the change.
Test the module on a short route before trusting it with rare cargo.
- Solves
- Damage control
- Watch for
- Weight and repair pressure
- Test with
- 2x1
- Safe move
- Change one part at a time and check exit movement after the change.
Test the module on a short route before trusting it with rare cargo.
- Solves
- Damage control
- Watch for
- Weight and repair pressure
- Test with
- 2x1
- Safe move
- Change one part at a time and check exit movement after the change.
Test the module on a short route before trusting it with rare cargo.
- Solves
- Damage control
- Watch for
- Weight and repair pressure
- Test with
- 1x1
- Safe move
- Change one part at a time and check exit movement after the change.
Test the module on a short route before trusting it with rare cargo.
- Solves
- Damage control
- Watch for
- Weight and repair pressure
- Test with
- 1x1
- Safe move
- Change one part at a time and check exit movement after the change.
Test the module on a short route before trusting it with rare cargo.
- Solves
- Damage control
- Watch for
- Weight and repair pressure
- Test with
- 1x1
- Safe move
- Change one part at a time and check exit movement after the change.
Test the module on a short route before trusting it with rare cargo.
- Solves
- Damage control
- Watch for
- Weight and repair pressure
- Test with
- 1x1
- Safe move
- Change one part at a time and check exit movement after the change.
Test the module on a short route before trusting it with rare cargo.
- Solves
- Damage control
- Watch for
- Weight and repair pressure
- Test with
- 1x1
- Safe move
- Change one part at a time and check exit movement after the change.
Test the module on a short route before trusting it with rare cargo.
- Solves
- Damage control
- Watch for
- Weight and repair pressure
- Test with
- 1x1
- Safe move
- Change one part at a time and check exit movement after the change.
Mount only after shells and firing lanes match the route.
- Solves
- Sustained fire
- Watch for
- Mounted ammo pressure.
- Test with
- 1x1
- Safe move
- Count shells before launch and avoid fights that do not protect the objective.
Mount only after shells and firing lanes match the route.
- Solves
- Sustained fire
- Watch for
- Mounted ammo pressure.
- Test with
- 1x1
- Safe move
- Count shells before launch and avoid fights that do not protect the objective.
Test the module on a short route before trusting it with rare cargo.
- Solves
- Module fit
- Watch for
- Fit check
- Test with
- 1x1
- Safe move
- Change one part at a time and check exit movement after the change.

Make sure the solo or squad route has enough control space before launch.
- Solves
- Crew control
- Watch for
- Crew routing
- Test with
- 1x1+
- Safe move
- Change one part at a time and check exit movement after the change.
Keep one cargo lane for contract items and one lane for sell cargo.
- Solves
- Storage and loot routing
- Watch for
- Cargo pressure
- Test with
- 1x2
- Safe move
- Reserve space before looting so contract items do not get left behind.
Keep one cargo lane for contract items and one lane for sell cargo.
- Solves
- Storage and loot routing
- Watch for
- Cargo pressure
- Test with
- 1x2
- Safe move
- Reserve space before looting so contract items do not get left behind.
Keep one cargo lane for contract items and one lane for sell cargo.
- Solves
- Storage and loot routing
- Watch for
- Cargo pressure
- Test with
- 1x2
- Safe move
- Reserve space before looting so contract items do not get left behind.
Keep one cargo lane for contract items and one lane for sell cargo.
- Solves
- Storage and loot routing
- Watch for
- Cargo pressure
- Test with
- 1x1
- Safe move
- Reserve space before looting so contract items do not get left behind.
Keep one cargo lane for contract items and one lane for sell cargo.
- Solves
- Storage and loot routing
- Watch for
- Cargo pressure
- Test with
- 1x1
- Safe move
- Reserve space before looting so contract items do not get left behind.
Keep one cargo lane for contract items and one lane for sell cargo.
- Solves
- Storage and loot routing
- Watch for
- Cargo pressure
- Test with
- 1x1
- Safe move
- Reserve space before looting so contract items do not get left behind.
Test the module on a short route before trusting it with rare cargo.
- Solves
- Damage control
- Watch for
- Fit check
- Test with
- 1x1
- Safe move
- Change one part at a time and check exit movement after the change.
Test the module on a short route before trusting it with rare cargo.
- Solves
- Damage control
- Watch for
- Weight and repair pressure
- Test with
- 1x1
- Safe move
- Change one part at a time and check exit movement after the change.
Test the module on a short route before trusting it with rare cargo.
- Solves
- Damage control
- Watch for
- Weight and repair pressure
- Test with
- 1x1
- Safe move
- Change one part at a time and check exit movement after the change.
Test the module on a short route before trusting it with rare cargo.
- Solves
- Damage control
- Watch for
- Weight and repair pressure
- Test with
- 1x1
- Safe move
- Change one part at a time and check exit movement after the change.
Make sure the solo or squad route has enough control space before launch.
- Solves
- Crew control
- Watch for
- Crew routing
- Test with
- 1x2
- Safe move
- Change one part at a time and check exit movement after the change.
Make sure the solo or squad route has enough control space before launch.
- Solves
- Crew control
- Watch for
- Crew routing
- Test with
- 1x2
- Safe move
- Change one part at a time and check exit movement after the change.
Make sure the solo or squad route has enough control space before launch.
- Solves
- Crew control
- Watch for
- Crew routing
- Test with
- 2x1
- Safe move
- Change one part at a time and check exit movement after the change.
Test the module on a short route before trusting it with rare cargo.
- Solves
- Module fit
- Watch for
- Fit check
- Test with
- 1x1
- Safe move
- Change one part at a time and check exit movement after the change.
Make sure the solo or squad route has enough control space before launch.
- Solves
- Crew control
- Watch for
- Crew routing
- Test with
- 1x1
- Safe move
- Change one part at a time and check exit movement after the change.
Make sure the solo or squad route has enough control space before launch.
- Solves
- Crew control
- Watch for
- Crew routing
- Test with
- 2x2
- Safe move
- Change one part at a time and check exit movement after the change.
Mount only after shells and firing lanes match the route.
- Solves
- Sustained fire
- Watch for
- Mounted ammo pressure.
- Test with
- 1x1
- Safe move
- Count shells before launch and avoid fights that do not protect the objective.

Mount only after shells and firing lanes match the route.
- Solves
- Sustained fire
- Watch for
- Mounted ammo pressure.
- Test with
- 1x1
- Safe move
- Count shells before launch and avoid fights that do not protect the objective.

Mount only after shells and firing lanes match the route.
- Solves
- Sustained fire
- Watch for
- Mounted ammo pressure.
- Test with
- 2x1
- Safe move
- Count shells before launch and avoid fights that do not protect the objective.
Mount only after shells and firing lanes match the route.
- Solves
- Sustained fire
- Watch for
- Mounted ammo pressure.
- Test with
- 2x1
- Safe move
- Count shells before launch and avoid fights that do not protect the objective.
Test the module on a short route before trusting it with rare cargo.
- Solves
- Module fit
- Watch for
- Fit check
- Test with
- 1x1
- Safe move
- Change one part at a time and check exit movement after the change.
Test the module on a short route before trusting it with rare cargo.
- Solves
- Module fit
- Watch for
- Fit check
- Test with
- 1x2
- Safe move
- Change one part at a time and check exit movement after the change.
Pick the chassis around crew size, cargo goal, and how often you need to turn around under pressure.
- Solves
- Build footprint
- Watch for
- Footprint pressure
- Test with
- 2x4
- Safe move
- Run a short extraction test before switching the main build.
Pick the chassis around crew size, cargo goal, and how often you need to turn around under pressure.
- Solves
- Build footprint
- Watch for
- Footprint pressure
- Test with
- 3x3
- Safe move
- Run a short extraction test before switching the main build.

Pick the chassis around crew size, cargo goal, and how often you need to turn around under pressure.
- Solves
- Build footprint
- Watch for
- Footprint pressure
- Test with
- 5x3
- Safe move
- Run a short extraction test before switching the main build.

Pick the chassis around crew size, cargo goal, and how often you need to turn around under pressure.
- Solves
- Build footprint
- Watch for
- Footprint pressure
- Test with
- 3x5
- Safe move
- Run a short extraction test before switching the main build.
Pick the chassis around crew size, cargo goal, and how often you need to turn around under pressure.
- Solves
- Build footprint
- Watch for
- Footprint pressure
- Test with
- 4x4
- Safe move
- Run a short extraction test before switching the main build.
Pick the chassis around crew size, cargo goal, and how often you need to turn around under pressure.
- Solves
- Build footprint
- Watch for
- Footprint pressure
- Test with
- 4x3
- Safe move
- Run a short extraction test before switching the main build.
Pick the chassis around crew size, cargo goal, and how often you need to turn around under pressure.
- Solves
- Build footprint
- Watch for
- Footprint pressure
- Test with
- 3x4
- Safe move
- Run a short extraction test before switching the main build.
Test the module on a short route before trusting it with rare cargo.
- Solves
- Module fit
- Watch for
- Fit check
- Test with
- 1x1
- Safe move
- Change one part at a time and check exit movement after the change.
Test the module on a short route before trusting it with rare cargo.
- Solves
- Module fit
- Watch for
- Fit check
- Test with
- 3x1
- Safe move
- Change one part at a time and check exit movement after the change.
Test the module on a short route before trusting it with rare cargo.
- Solves
- Module fit
- Watch for
- Fit check
- Test with
- 2x1
- Safe move
- Change one part at a time and check exit movement after the change.
Test the module on a short route before trusting it with rare cargo.
- Solves
- Module fit
- Watch for
- Fit check
- Test with
- 2x1
- Safe move
- Change one part at a time and check exit movement after the change.
Test the module on a short route before trusting it with rare cargo.
- Solves
- Module fit
- Watch for
- Fit check
- Test with
- 1x1
- Safe move
- Change one part at a time and check exit movement after the change.
Test the module on a short route before trusting it with rare cargo.
- Solves
- Module fit
- Watch for
- Fit check
- Test with
- 1x1
- Safe move
- Change one part at a time and check exit movement after the change.
Test the module on a short route before trusting it with rare cargo.
- Solves
- Module fit
- Watch for
- Fit check
- Test with
- 1x1
- Safe move
- Change one part at a time and check exit movement after the change.
Test the module on a short route before trusting it with rare cargo.
- Solves
- Module fit
- Watch for
- Fit check
- Test with
- 1x2
- Safe move
- Change one part at a time and check exit movement after the change.
Make sure the solo or squad route has enough control space before launch.
- Solves
- Crew control
- Watch for
- Crew routing
- Test with
- 1x1+
- Safe move
- Change one part at a time and check exit movement after the change.
Test the module on a short route before trusting it with rare cargo.
- Solves
- Module fit
- Watch for
- Fit check
- Test with
- 1x1
- Safe move
- Change one part at a time and check exit movement after the change.
Keep one cargo lane for contract items and one lane for sell cargo.
- Solves
- Storage and loot routing
- Watch for
- Cargo pressure
- Test with
- 1x2
- Safe move
- Reserve space before looting so contract items do not get left behind.
Keep one cargo lane for contract items and one lane for sell cargo.
- Solves
- Storage and loot routing
- Watch for
- Cargo pressure
- Test with
- 1x2
- Safe move
- Reserve space before looting so contract items do not get left behind.
Keep one cargo lane for contract items and one lane for sell cargo.
- Solves
- Storage and loot routing
- Watch for
- Cargo pressure
- Test with
- 1x2
- Safe move
- Reserve space before looting so contract items do not get left behind.
Keep one cargo lane for contract items and one lane for sell cargo.
- Solves
- Storage and loot routing
- Watch for
- Cargo pressure
- Test with
- 1x1
- Safe move
- Reserve space before looting so contract items do not get left behind.
Keep one cargo lane for contract items and one lane for sell cargo.
- Solves
- Storage and loot routing
- Watch for
- Cargo pressure
- Test with
- 1x1
- Safe move
- Reserve space before looting so contract items do not get left behind.

Keep one cargo lane for contract items and one lane for sell cargo.
- Solves
- Storage and loot routing
- Watch for
- Cargo pressure
- Test with
- 1x1
- Safe move
- Reserve space before looting so contract items do not get left behind.
Keep one cargo lane for contract items and one lane for sell cargo.
- Solves
- Storage and loot routing
- Watch for
- Cargo pressure
- Test with
- 1x1
- Safe move
- Reserve space before looting so contract items do not get left behind.
Keep one cargo lane for contract items and one lane for sell cargo.
- Solves
- Storage and loot routing
- Watch for
- Cargo pressure
- Test with
- 1x1
- Safe move
- Reserve space before looting so contract items do not get left behind.
Keep one cargo lane for contract items and one lane for sell cargo.
- Solves
- Storage and loot routing
- Watch for
- Cargo pressure
- Test with
- 1x1
- Safe move
- Reserve space before looting so contract items do not get left behind.
Keep one cargo lane for contract items and one lane for sell cargo.
- Solves
- Storage and loot routing
- Watch for
- Cargo pressure
- Test with
- 1x1
- Safe move
- Reserve space before looting so contract items do not get left behind.
Keep one cargo lane for contract items and one lane for sell cargo.
- Solves
- Storage and loot routing
- Watch for
- Cargo pressure
- Test with
- 1x1
- Safe move
- Reserve space before looting so contract items do not get left behind.
Keep one cargo lane for contract items and one lane for sell cargo.
- Solves
- Storage and loot routing
- Watch for
- Cargo pressure
- Test with
- 1x1
- Safe move
- Reserve space before looting so contract items do not get left behind.
Test the module on a short route before trusting it with rare cargo.
- Solves
- Module fit
- Watch for
- Fit check
- Test with
- 1x1
- Safe move
- Change one part at a time and check exit movement after the change.
Test the module on a short route before trusting it with rare cargo.
- Solves
- Module fit
- Watch for
- Fit check
- Test with
- 1x1
- Safe move
- Change one part at a time and check exit movement after the change.
Test the module on a short route before trusting it with rare cargo.
- Solves
- Module fit
- Watch for
- Fit check
- Test with
- 1x2
- Safe move
- Change one part at a time and check exit movement after the change.
Test the module on a short route before trusting it with rare cargo.
- Solves
- Module fit
- Watch for
- Fit check
- Test with
- 1x1
- Safe move
- Change one part at a time and check exit movement after the change.
Test the module on a short route before trusting it with rare cargo.
- Solves
- Module fit
- Watch for
- Fit check
- Test with
- 2x1
- Safe move
- Change one part at a time and check exit movement after the change.
Test the module on a short route before trusting it with rare cargo.
- Solves
- Module fit
- Watch for
- Fit check
- Test with
- 2x1
- Safe move
- Change one part at a time and check exit movement after the change.
Test the module on a short route before trusting it with rare cargo.
- Solves
- Module fit
- Watch for
- Fit check
- Test with
- 1x1
- Safe move
- Change one part at a time and check exit movement after the change.
No matching Trampler part. Clear the search or switch Build problem back to all build checks.
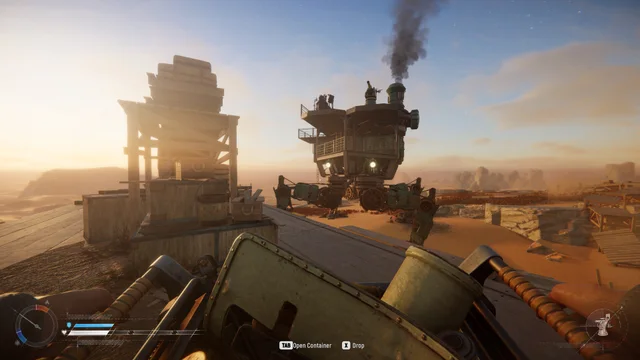
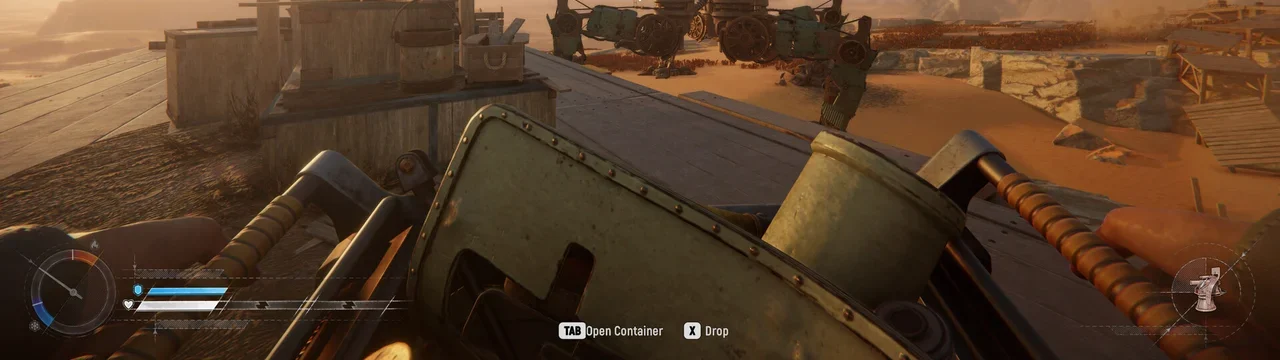
The SAND: Raiders of Sophie Trampler is the reason the game feels different from a normal extraction run. It is not just a vehicle, not just storage, and not just a mobile spawn point. It is the run’s body. If the Trampler cannot move, carry, defend, and leave, the player inventory becomes a small consolation prize.
Last checked: June 30, 2026. SAND is in Early Access, so module balance, research timing, and build comfort can change. Use this guide as a readiness check before spending rare parts or trusting a new build with contract cargo.
Quick Answer
Your Trampler is ready for a real route when it passes five checks:
- It has enough power to leave after cargo gets heavy.
- It has cargo space reserved for the main target.
- The crew can control the route without awkward movement or split attention.
- Mounted weapons have shells, firing lanes, and a reason to be mounted.
- The build has survived a short extraction test after the latest change.
If one check fails, do not hide it behind more loot. Fix that pressure point first.
Trampler Readiness Check
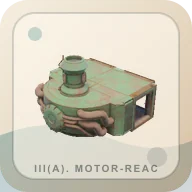
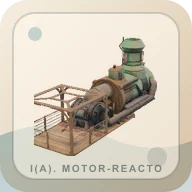
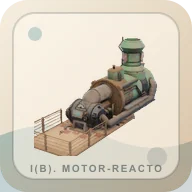
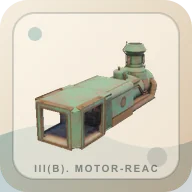
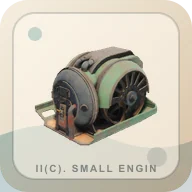
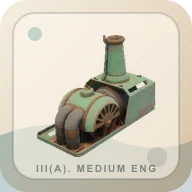
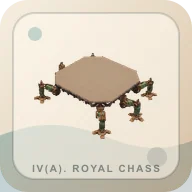
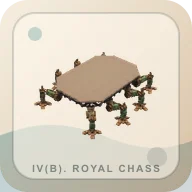
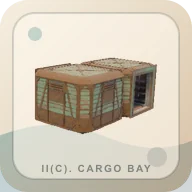
Use the tool above as a build board. Search chassis, cargo, steering, engines, reactor, crew room, decks, armor, and mounted weapons. Save the modules that affect your current build, then reset after a rebuild.
| Readiness area | What to check | Bad sign |
|---|---|---|
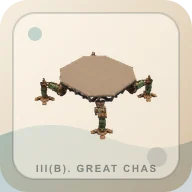
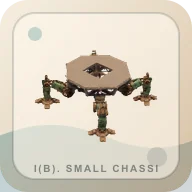
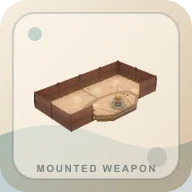
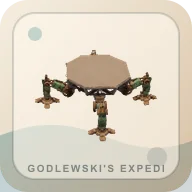
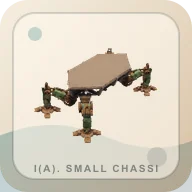
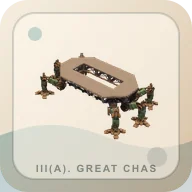
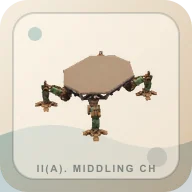
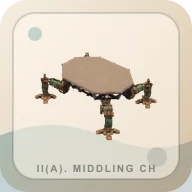
| Chassis | Footprint, turning comfort, route width, and crew size | The base feels powerful in camp but awkward near exits |
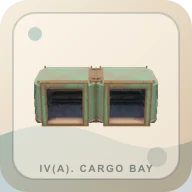
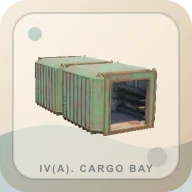
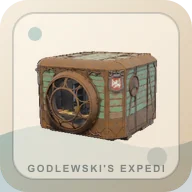
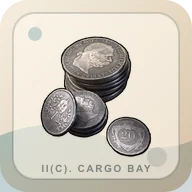
| Cargo | Empty lane for contract items and separate lane for sell cargo | You drop target items because the hold is full of ordinary loot |
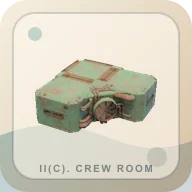
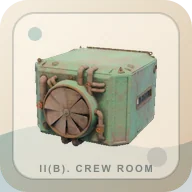
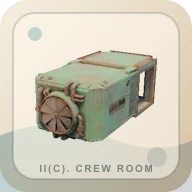
| Crew cabin | Driver, gunner, repair, and looting attention | Solo players must leave controls too often; squads talk over each other |
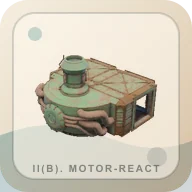
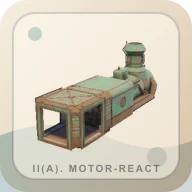
| Reactor / engine | Power reserve, movement margin, and recovery after damage | You stay in fights because leaving is no longer easy |
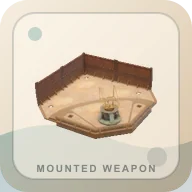
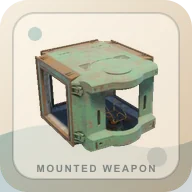
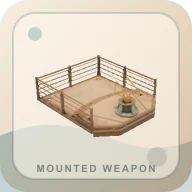
| Turret deck | Shell reserve, firing arcs, and the fight you expect | Mounted weapons exist but the ammo box cannot feed them |
The readiness check is more important than a perfect final build. SAND changes under route pressure. A module that looks efficient in a menu may feel wrong when the Trampler has to turn, load cargo, and answer gunfire at the same time.
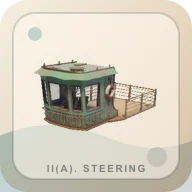
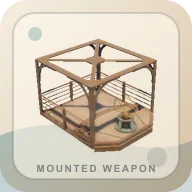
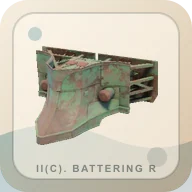
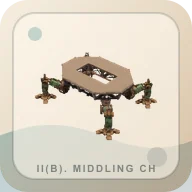
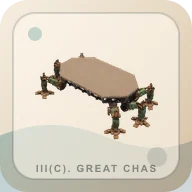
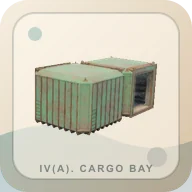
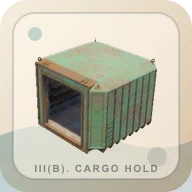
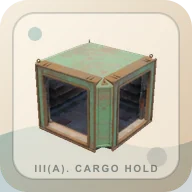
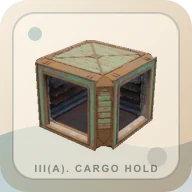
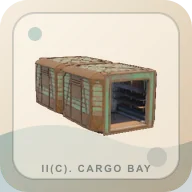
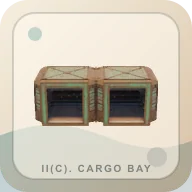
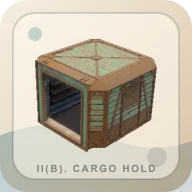
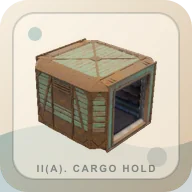
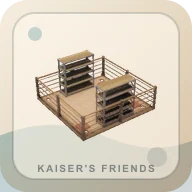
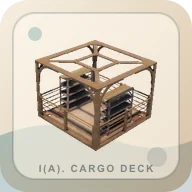
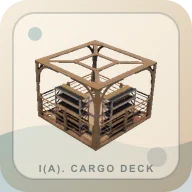
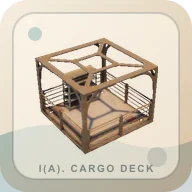
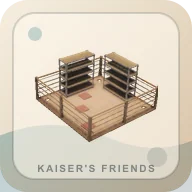
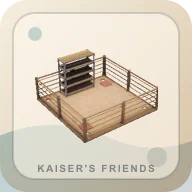
The module images in the readiness board are a recognition layer for rebuilds. Use them to separate chassis pieces, cargo blocks, crew parts, engines, reactors, decks, and mounted weapons before you start moving parts around. If two modules look similar but solve different pressure points, trust the role and safe-move notes before spending rare materials.
Build Around The Next Route
Do not build the Trampler around every possible future run. Build it around the next run you are actually going to play.
| Next run | Build priority | Why |
|---|---|---|
| First Voyage | Power, simple cargo, clean controls | You need a full loop more than a dramatic weapon deck |
| Contract cargo | Reserved storage and exit movement | Delivery cargo must survive the route and not get mixed with sell loot |
| Storm Dive | Power margin, shells, repair room, stop rule | Better rewards mean the build must leave under pressure |
| Crew route | Clear seats, roles, and cargo lanes | A squad can move faster only if everyone knows what the base is doing |
| Turret test | Shell count and short extraction | Mounted weapons need a reason, not just a slot |
This is the safest way to avoid expensive overbuilding. A Trampler that solves today’s problem and comes home is better than a beautiful rebuild that teaches you nothing because five systems changed at once.
Chassis And Footprint
Chassis choice decides how the rest of the build feels. A larger chassis can carry more and support more systems, but the cost is not only material. It can change how the Trampler turns, how it fits through routes, how exposed it feels during calls, and how much attention it demands when enemies appear.
Before changing chassis, ask:
- What cargo problem am I solving?
- Does the new footprint make extraction easier or harder?
- Can my current power setup move the heavier build?
- Will solo play become more awkward?
- Can I test it on Voyage before Storm Dive?
The safe move is to run a short extraction after a chassis change. Do not install a larger body, add cargo, add turrets, and immediately bring rare cargo into Storm Dive. If the build is wrong, you want to learn that with ordinary loot.
Cargo Pressure
Cargo is the most tempting upgrade because the pain is obvious: the hold fills, you leave items behind, and cash feels trapped on the map. But more cargo can also make routes greedier. If a bigger hold convinces you to ignore the exit rule, it did not fix the run.
Use a cargo split:
| Cargo lane | Use |
|---|---|
| Contract lane | Black Box, delivery stacks, rare target items, and anything that ends the route |
| Craft lane | Scrap Metal, Scrapped Ammo, Mechanical Parts, Threads, Fabric Scraps, and other reserve items |
| Sell lane | Surplus valuables and cash items after first-copy checks |
| Emergency lane | Food, ammo, fuel, or repair margin you do not want buried |
The exact layout can change, but the principle should not: target cargo must not compete with random sell cargo in the final minute.
Crew Cabin And Solo / Squad Split
Solo Trampler play rewards simplicity. If one player has to drive, loot, repair, aim, and sort cargo, every extra system becomes another mental tax. A solo build should be easy to understand quickly: clear controls, fewer panic decisions, and enough storage discipline to avoid opening every container during a fight.
Squad play can support more specialized roles, but it also creates communication risk. Decide who drives, who watches mounted weapons, who handles cargo, and who calls the stop rule. A squad that keeps looting after the driver says the route is over is not more efficient; it is just louder.
| Setup | Best habit |
|---|---|
| Solo | Keep the build simpler, test changes one at a time, and avoid fights that require constant turret attention |
| Duo | Let one player own movement while the other handles loot and threats |
| Full crew | Assign cargo, turret, repair, and exit-call roles before the route starts |
Reactor, Engine, And Movement Margin
Power is invisible until it becomes the only thing that matters. A Trampler with more cargo and weapons but no movement margin is a trap. If the base cannot correct bad parking, leave a bad fight, or limp away after damage, the build has crossed from ambitious into fragile.
Good power habits:
- Check reserve before launch, not after the first fight.
- Upgrade movement to match weight, not ego.
- Leave with less cargo if power is already low.
- Test heavier builds on short routes.
- Treat fuel and energy rods as route protection, not sell clutter.
This is why the Beginner Guide puts power reserve in the first checklist. New players often notice guns and cargo first, but the Trampler wins by leaving.
Turrets And Ammo Pressure
Mounted weapons are satisfying, but they create a second ammo economy. A turret is not ready because it is mounted. It is ready when it has shells, a firing lane, and a fight worth spending them on.
| Mounted weapon question | Why it matters |
|---|---|
| What shell does it need? | Shell mismatch turns a turret into decoration |
| How many fights can it cover? | A powerful weapon with one poor shot may be worse than a steadier option |
| Does it protect the objective? | Spending shells on ordinary threats can make extraction weaker |
| Can the Trampler still move well? | Weapon decks do not matter if the base cannot leave |
If turret ammo is tight, avoid fights that do not protect contract cargo, rare loot, or the exit. Mounted weapons should buy safety, not permission to overstay.
Change One System At A Time
The fastest way to ruin a Trampler build is to change everything after one bad run. If you upgrade chassis, add cargo, swap engines, move crew space, and mount a new turret at the same time, the next run cannot teach you which choice mattered.
Use a test loop:
- Pick one pressure point.
- Change one system.
- Run a short Voyage.
- Extract before rare cargo is involved.
- Decide whether the pressure improved.
If it improved, keep it and change the next thing later. If it failed, revert or adjust before the build touches Storm Dive.
What To Open Next
Open the Extraction Guide if the Trampler is built well but exits are still failing. Open the Loot Guide if cargo pressure is mostly about what to keep, sell, deliver, or craft. Go back to the Beginner Guide if the route still fails before the build can teach you anything.
FAQ
What should I upgrade first on the Trampler?
Upgrade the pressure point blocking your next route: cargo if you leave target items behind, power if movement fails, crew space if control is awkward, and turrets only when ammo is ready.
Should I add turrets early in SAND?
Add mounted weapons only after you can feed them. A turret without shells adds confidence without solving the next fight.
How do I know a Trampler build is ready?
Run a short Voyage test. If it moves cleanly, carries the target, keeps crew control, and extracts without spending every reserve, it is ready for a harder route.
Is cargo more important than weapons?
Early on, cargo and power often matter more. Weapons help only when they protect the objective; extra cargo helps only when the Trampler can still leave.